We must have a BAZILLION old crayons in the house!
I kid you not — old crayons from previous school years, the small packs the kids get when we eat out somewhere, crayons that we’ve received in treat bags at birthday parties — a bazillion crayons.
When we were cleaning out our art cabinet last month, we dumped them all into a plastic bin (so I could corral them and figure out what to do with them at a later date because organizing that cabinet took all day!)
So this past week, we decided to try some melted crayon art.
I’m sure you’ve seen it everywhere by now. Those gorgeous Crayola® colors blending together in vibrant streaks and drips.
Melted Crayon Tree Art
Amazingly enough, this is super easy to do with the kids and even engages them in a cool science discussion during the project. Instead of just lining up the crayons for our picture, we chose to melt the crayons in the shape of an evergreen tree so we could use it for a winter decoration.
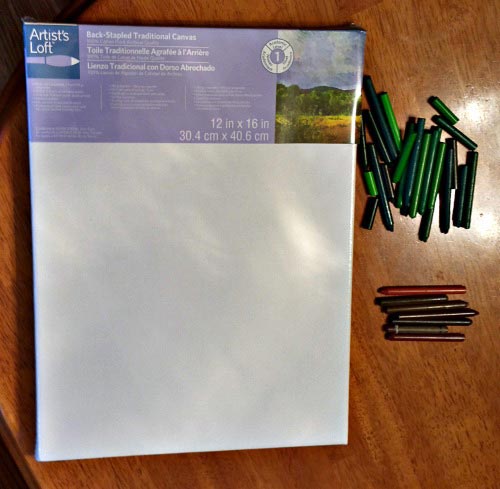
Here’s what you’ll need for the project — I’m including affiliate links to the various items in case you’re not familiar with them:
- a 12 x 16 artist canvas (you can find these at any craft or hobby store)
- approx. 20 – 24 green crayons of various shades
- 8 brown crayons of various shades
- a Hot Melt Glue Gun
- a blow dryer (or another type of heat source)
- a Medium Paint Brush
- Painter’s Tape
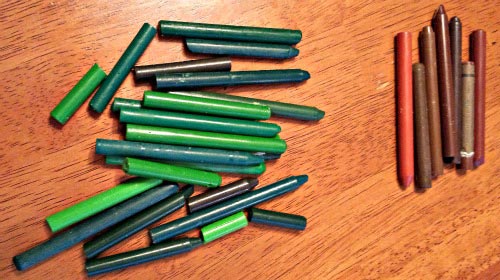
Here are the crayons we used up close so you can see the different shades. We really didn’t do much other than sort out all the green and brown crayons from the large box (let’s see, what’s a bazillion minus 32?) and then peel off the wrapping. You’ll see in the other photos why having a variety of shades is good idea.
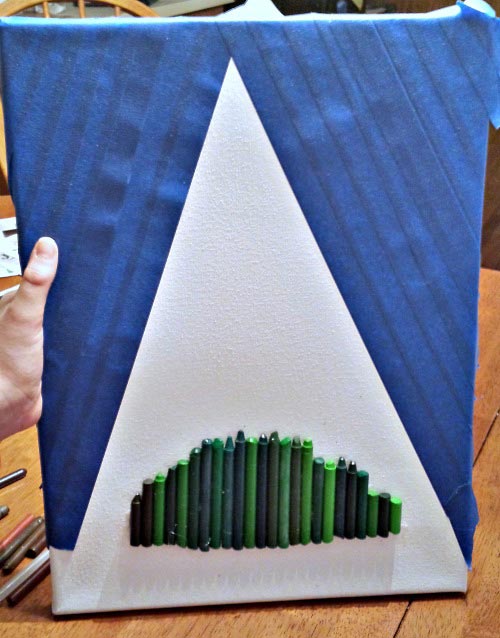
The first step is to tape all the crayons to one side of the canvas. We left a little room at the bottom because we wanted to include the brown crayons later for the tree trunk. As you can see in the photo, we glued them with the largest in the middle and smallest at both sides since we wanted the middle of the tree to be taller once the crayons were melted.
Then we taped off the two sides of the canvas where we didn’t want the crayons to adhere. We just went for a simple triangular shape since this was our first time experimenting with this type of project.
Next is the fun part – melting the wax!
This is definately a step that parents or older kids should do because if the blow dryer touches the crayons, there will be colored wax left on the dryer.
Tilt the canvas so that it is crayon-side up and at an angle (ours was tilted at about 75 degrees). We used a few soup cans stacked in the back to hold the canvas in place. This is one of those opportunities for a quick math review of angles if the kids are older — hark back to the days of right angles in a triangle to recall it has a 90 degree angle and then go a little less than that when you’re setting up the canvas.
Here’s where we insert the science discussion —
Ask the kids why the crayons melt? They may not realize that crayons are made from the same item as candles – wax!
And as you apply the heat, wax will melt. But make sure to watch how quickly it dries too. The melted crayons are a little hot to the touch but kids should still be able to experiment with how it feels if you’re careful. Have Mom or Dad touch the melted area first to check the temperature.
And if you really want to get geeky, try applying different heat sources or use different temperature settings on the blow dryer. Do the crayons melt as fast in the sun as they do with a blow dryer? Why do some crayons melt quicker than others?
If you’d like to learn more about how crayons are made, here are a few really great videos to watch:
The Life of an American Crayon
Ok, back to the melted crayon project!
Our first tip — don’t hold the blow dryer too close to the crayons.
It may take a while to get the melting process started so be patient. If you’re doing this during summer, you can try leaving it outside in direct sunlight to see if that type of heat source will work too (I mean, it works to melt crayons to the carpet in my car so why not here to, right?)
Our second tip — don’t use an old blow dryer!
We started the project using an old one and it shorted out within minutes. Another good reason for an adult to start the process.
Set the dryer on a medium to high setting and start in one area of the canvas. It took about 6 minutes for the crayons to begin to melt in that one area. And once they start, just keep applying the heat of the dryer blowing it downwards toward the painter’s tape.
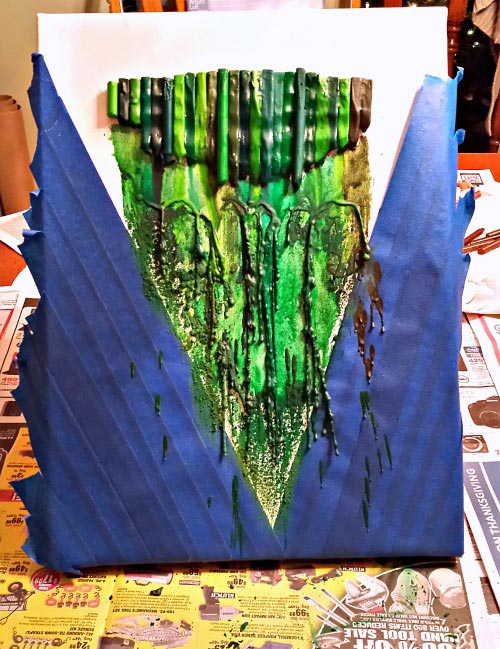
As the crayons began to melt, my daughter would use the paint brush to move some of the crayon wax across the canvas. Try to ‘paint’ in the same directions the crayons are melting – downward to the painter’s tape.
The above photo shows what it looked like as soon as we stopped using the blow dryer. Now let it set for about 30 minutes and then carefully peel off the painter’s tape.

Once the crayons were all dry and set, we glued the brown crayons to the bottom of the canvas to form a trunk. We also added a small strand of lights to decorate our tree.
Not bad for recycled art!
You might also like:
10 Things to do When the Kids have Cabin Fever